Digimon World 3 (PS1) full walkthrough: the whole story, step by step
In this guide
- Chapter 1: Welcome to the Digiworld
- First steps in Asuka City
- Training your partners
- Chasing Seiryu Leader
- Chapter 2: A Tricky Guilmon
- Chapter 3: Sepikmon's Mask
- Chapter 4: The Shrine of Reliability
- Chapter 5: Liberating Byakko
- Reaching the West Sector
- The Byakko trap
- The Mobius Desert and the Mirage Tower
- The Dum Dum Factory
- Retaking Asuka City
- The M-O-N-S-T-E-R puzzle
- Chapter 6: Across the Server Barrier
- The Bug Maze
- On the Amaterasu server
- Chapter 7: Through the Kulon Mine
- The three Kulon Mine dungeons
- The 180 seconds in Magasta
- Chapter 8: Rescuing Amaterasu
- Curing the Oinkmon
- Chapter 9: The Ultimate Battle
- The Gunslinger satellite
- How to beat Galacticmon
- More Digimon World 3 guides
Digimon World 3 came out on the PlayStation in 2002 and is the most "classic RPG" entry in the Digimon World series: instead of raising a single creature, you build a team of three partners, explore a huge isometric world and fight turn-based battles.
You are a Digimon fan who is thrilled about Digimon Online, the new online game from the MAGAMI company. After picking your partners and transferring yourself from the real world into the Digital World, your first goal is to find and defeat Seiryu Leader to earn your first sector badge. But little by little, the game stops being just a game…
This walkthrough shows everything you need to do to finish the story, step by step, in order. It is not the only possible route, and you do not have to follow this exact order for everything. Every so often it pays to leave the script, explore the Digital World and train your Digimon, especially near the end. Sidequests, maps and item lists will get their own guides here on the blog.

Chapter 1: Welcome to the Digiworld
First steps in Asuka City
- Start your adventure by going to the front desk of the administration center to claim your starting partner Digimon.
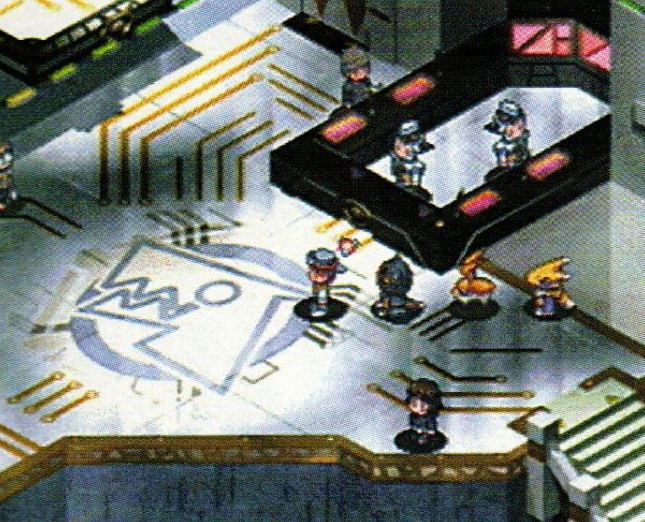
- Outside, an old man greets you by offering your first Digimon battle. It is easy, and he hands you a few bits when you win to get you started.
- After the battle you are whisked off to the lab to learn about Digivolution.
- Your first stop in town should be the Inn, where Guardromon saves your game so you do not have to sit through the introduction again.
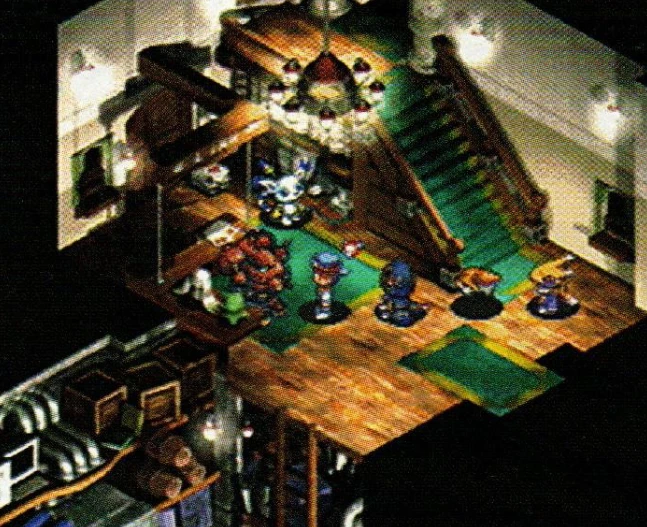
- In the city sewers you will find 300 bits to help you get started.
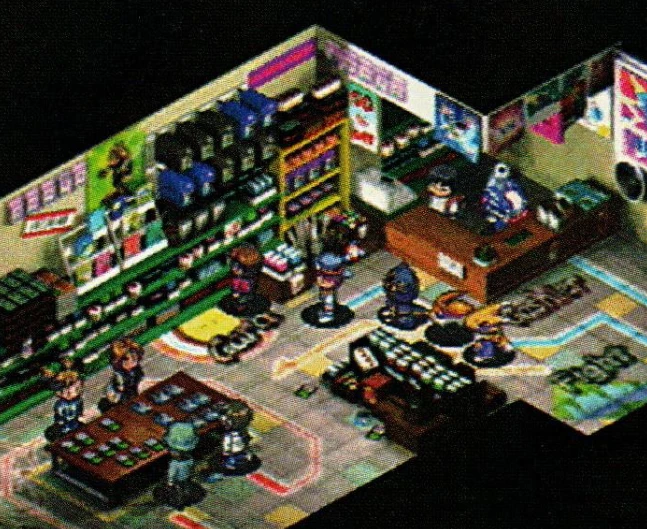
- Visit the Yellow Cruiser card shop to learn all about card battles.
Training your partners
- Now head out to Central Park and start training your Digimon by fighting wild Digimon. Stick to Central Park and the Forest Entrance until everyone is around level 5.
- Every time your Digimon gain a level, go to Leomon's Gym in Central Park to train their stats.
- Climb over the roof of the Gym to find a handy object. Crates with useful items show up all through the game, so keep an eye out.
- Once your Digimon get their first Digivolutions, head to Shell Beach, where the Digimon are tougher. An old man there will teach you to fish if you bring him the materials for a fishing pole (an optional quest).
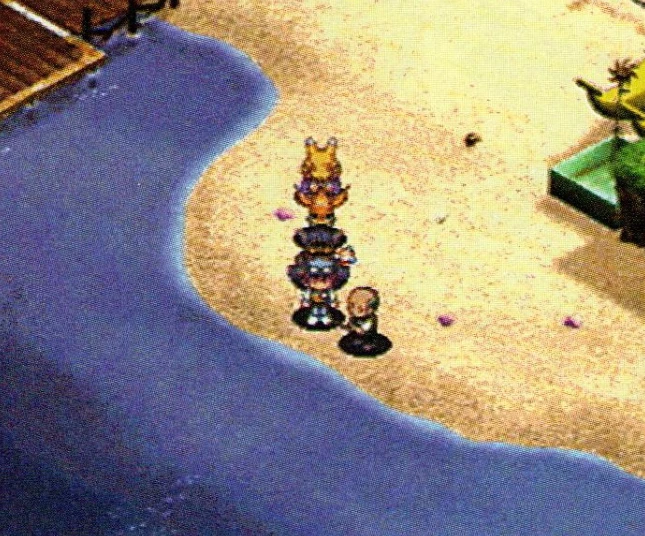
- Plug Cape is a dangerous place! Do not go there until your Digivolved partners have learned their first techniques. A kid named Hide will tell you about Tree Boots if you help him out (another optional quest).
Chasing Seiryu Leader
- Now you are ready to look for Seiryu Leader. Climb the plateau in East Wire Forest…
- … to reach Protocol Forest, where Seiryu Leader is training.
Tip: the hidden maze in Protocol Forest can be tricky. For the most direct route, hug the right edge of the map.
- Past the forest maze you will find the entrance to the strange Protocol Ruins.
- Inside the ruins you meet their ruler, Pharaohmon. Drop off his throne platform…
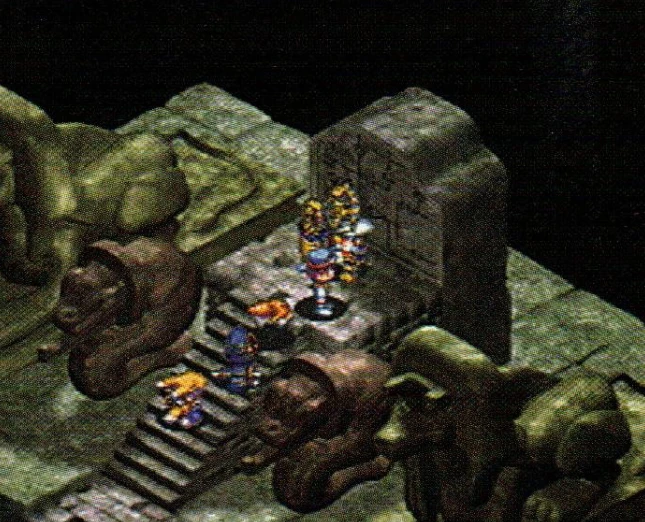
- … to reach the tunnel where you have your first encounter with Seiryu Leader. He tells you that before you can face him, you must defeat Master Tyranno.
- When you reach Divermon's Lake, check out the pier. If you help a distressed Divermon, he rewards you with part of the fishing pole you need.
- A plateau in the Kicking Forest leads to Tyranno Valley.
- At the top of Tyranno Valley you meet Master Tyranno. If you have already talked to Seiryu Leader, he will be ready to battle!
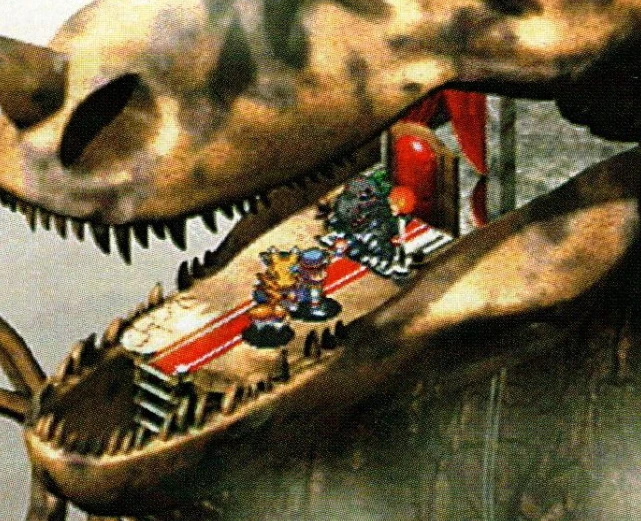
- Now you can go to Seiryu City and face Seiryu Leader for your first badge.
Tip: be sure to visit the merchants in Seiryu City. Their armor and weapons are better than the ones you can buy in Asuka.
Chapter 2: A Tricky Guilmon
You have done everything you need in the East Sector. Now it is time to take the underground Gondola to the South Sector and explore a whole new part of the Digital World. But it is not that easy! Some Digimon want to battle, some want to chat and be your friends, and some are only there to make your life… interesting. The Guilmon you are hunting does not mean any harm, he just thinks it is funny to make you run all over the sector.
- Talk to the other citizens of Seiryu City, including a fellow who offers you a new partner Digimon if you do him a favor.
- As you leave the city, your friend Teddy shows up to tell you about the arrival of a mysterious hacker, Lucky Mouse.
- Now head to East Station to take the Gondola to the South Sector.
- Unfortunately, you do not have the access card needed to start the Gondola. You need to get a Blue Card from a Guilmon.
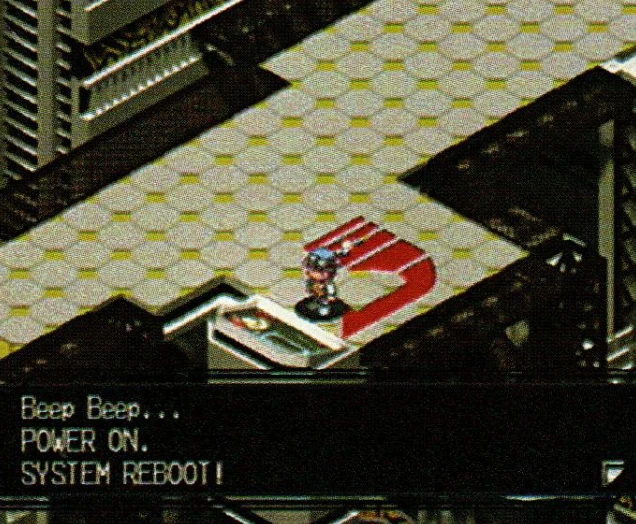
- If you return to Asuka City during your search, a mysterious trainer named Keith challenges you.
- By now you are cool enough to be accepted into the El Dorado item club.
- The membership gets you into the "black market" area of Mr. Smith's store…
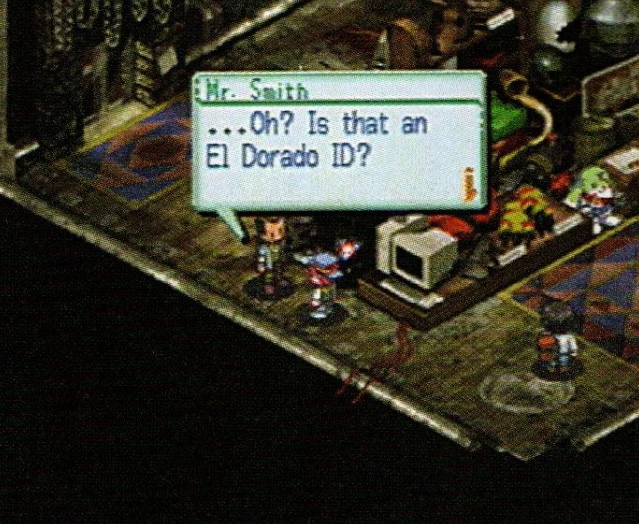
- … and, best of all, the Heavy Armory, packed with rare and powerful gear.
- There is a Guilmon at the Inn, but he is not the one you are looking for.
- Another Guilmon, at the Forest Inn, gives you a hint about where to find the one you want.
- Follow the clues to Seiryu City. There you find the right Guilmon, and he gives you a card…
- … but it is not the right card! He tricked you!
- The Tricky Guilmon has left Seiryu City, but you can find out where he went by talking to his relatives.
- He is in the haunted basement of the Forest Inn. This time he hands over the real card.
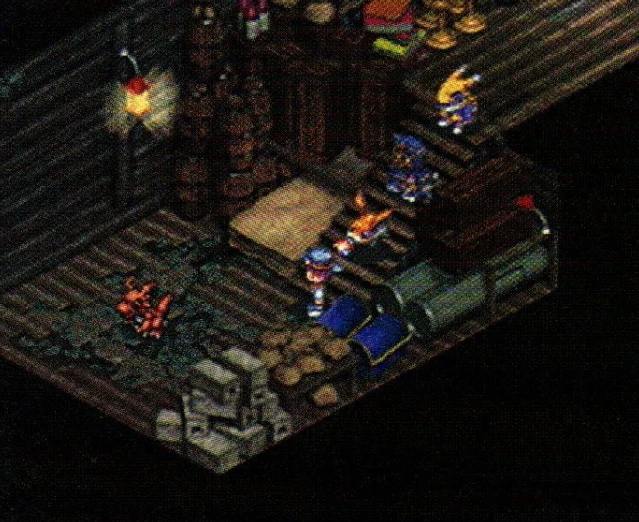
- But your trip to the South Sector is interrupted by a mysterious burrowing Digimon. You cannot defeat this monstrous creature, but you must drive it off before you can finish your trip.
Chapter 3: Sepikmon's Mask
If you thought the Tricky Guilmon was a pain, wait until you meet this troublemaker! You need the help of Sepikmon, the wise witch doctor of the South Sector, but somebody has stolen his Sepik Mask, and he is in hiding until he gets it back. Hunting down the thief will take you across two sectors of the Digital World. Once you solve the mystery, you can move on to Suzaku City and take on Suzaku Leader for your second badge.
- When you arrive at the tram station, you are ready to explore the South Sector.
- For now, the "haunted" Shaman House near the inn must remain a mystery.
- The cozy Swamp Inn makes a good base for your explorations.
- Wilder regions lie across the Bulk Bridge.
- A high-level bully named Zanbamon blocks your way at the Jungle Grave. You cannot beat him in battle, so you will need another way to make him move before you can reach Suzaku Leader.
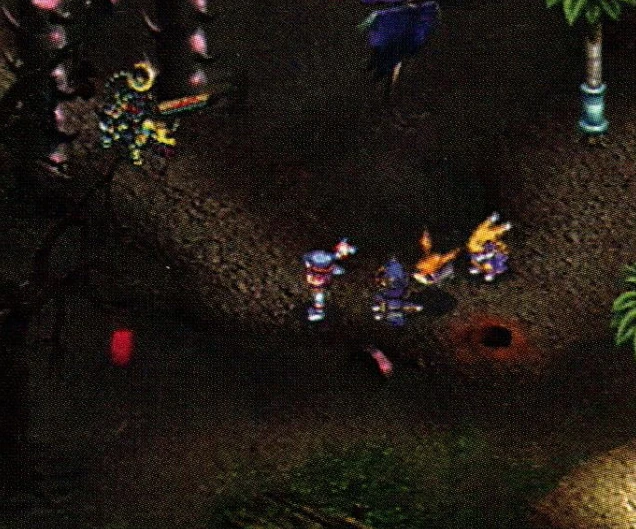
- A friendly Gatomon at the Swamp Inn says Sepikmon in the Shaman House could help you get rid of Zanbamon… if anybody knew where he was.
- In the Shaman House, you discover that the "ghost" is Sepikmon himself. He will help if you find his missing mask.
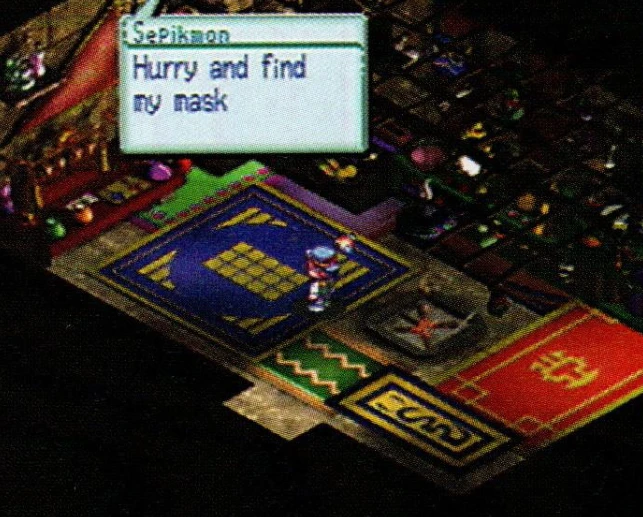
- Near the entrance to Bulk Swamp, your friend Kail says she saw a strange-faced Digimon heading north on the tram. She thinks it was Baronmon, Sepikmon's friend.
- Time to take the Gondola back to the East Sector.
- A friendly Agumon in Seiryu City suggests that Baronmon might be enjoying himself at the Protocol Ruins.
- That is where you find him. He says he heard that Sepikmon is in Asuka City.
- Keith, the mysterious trench-coated duelist, has set up camp outside Asuka City.
- On the Asuka Bridge you meet "Sepikmon" himself, who says he found his mask on his own. So you can forget about helping with Zanbamon. But something seems suspicious…
- When you visit Asuka City, you might find Mr. Smith holding one of his secret auctions in the basement of the Cargo Tower. From now on, it is worth checking for a new auction every time you pass through Asuka.
- Back in the South Sector, you may meet the MetalGreymon that the DRI man in Tyranno Valley was looking for. Beat him in battle and he will give you the DNA.
- Back at the Shaman House, Sepikmon denies visiting Asuka or finding his mask.
- So it is all the way back to Asuka City, where a strange Etemon says he saw Sepikmon running away toward Divermon's Lake.
- At the lake you catch a break. A busy guy named Nick says he found the mask, but Etemon stole it from him.
- In Asuka City, a resident on the top floor of the Cargo Tower gives you a useful tip…
- … that lets you corner the troublemaking Etemon in the sewers, where he finally hands over the Sepik Mask.
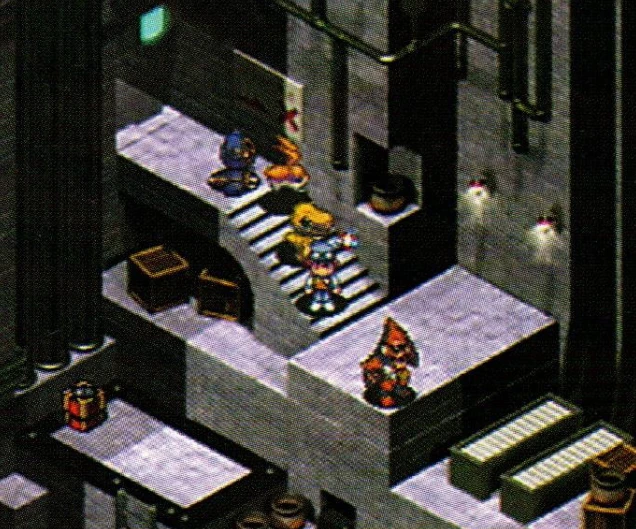
- Deliver the mask to the Shaman House…
- … where a grateful Sepikmon gives you the Smelly Herb that will drive off Zanbamon.
- Sure enough, the Smelly Herb sends Zanbamon packing.
Chapter 4: The Shrine of Reliability
Things are starting to get strange. Why can't anybody in Digimon Online return to the real world? And where is your friend Teddy? But the main thing on your mind is crossing to the West Sector to keep chasing the world championship. The only way to reach the West Sector and its capital, Byakko City, is to cross the ocean. The seafaring Digimon Submarimon can take you, but to call him you first need the Digi-Egg of Reliability. First you have to figure out where it is, then how to reach it. Your friendship with Sepikmon and Baronmon will help.
- The way to Suzaku City is now open. Outside the inn you meet a mysterious girl named Lisa.
- And at last you can duel Suzaku Leader for the Suzaku Badge.
- Before going any further, though, Kail whisks you back to Asuka City, where the Game Master makes an important announcement: until further notice, nobody can leave the Digiworld.
- Kail thinks Teddy is in the administration center. Mr. John at the Lamb Chop explains that players cannot get into the center, but lost Digimon can.
- You find out that some local Digimon fans have started wearing Digimon suits that they say Etemon gave them.
- Etemon seems to have left the sewers. Instead, you find a guy named Mat.
- Kail sets you straight: Mat is "Etemon" when he wears a Digimon suit.
- When you confront Mat, he gives you a Digimon Suit if you promise not to turn him in for all the trouble he has caused.
- Kail shows up and…
- … the two of you head to the administration center disguised as Digimon…
- … but Kail takes off on business of her own and leaves you alone.
- Disguised as an Agumon, you finally get past the door guard…
- … and reach the Master Chamber, where the Game Master is addressing some of her assistants.
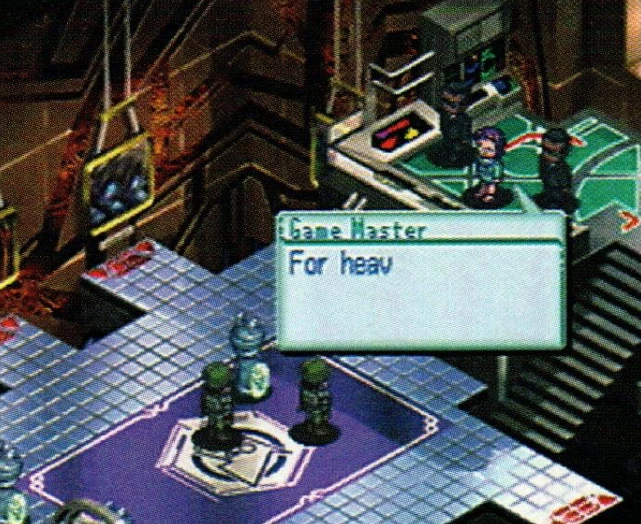
- You are caught! But instead of punishing you, the Game Master sends you and Kail to search for the hacker Lucky Mouse.
- Now you can resume your quest for the four badges, but you need the Digi-Egg of Reliability to reach the West Sector. A girl at Phoenix Bay gives you a clue about where to look.
- You find the shrine in Bios Swamp, but you cannot get in. Maybe Sepikmon can help? Important: search all around the shrine until you get the message about asking Sepikmon.
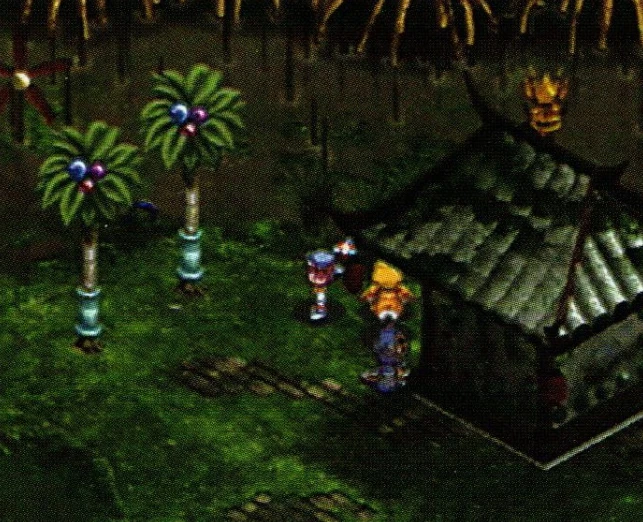
- Sepikmon suggests you see Baronmon about a bomb.
- Still at the Protocol Ruins, Baronmon agrees to make a TNT Chip out of one of your TNT Balls. If you do not have a TNT Ball, you can get one by hunting Triceramon in Tyranno Valley.
- This is a good time to check in at Asuka and see whether there is a new auction.
- Baronmon's TNT Chip does its job and gets you into the Shrine of Reliability, where you take the Digi-Egg.
- In the Ether Jungle you may meet the WarGrowlmon that the DRI man in Seiryu City was looking for. Fight him for the DNA.
- That strange fellow Keith has now moved to the Ether Jungle.
- The Jungle Shrine is where Zanbamon has set up house. It is a tough place, and you may not be ready for it yet.
Chapter 5: Liberating Byakko
You have finally made it to the desert wastes of the West Sector, but something is very wrong… and suddenly Digimon Online has become much more than a game! Who are these uniformed bullies who have taken over Byakko City, and what happened to the real Byakko Leader and the honest citizens? The answers will take you to an underground prison, the ancient Mirage Tower and the clanging machinery of the Dum Dum Factory, on the trail of the outlaw hacker Lucky Mouse.
Reaching the West Sector
- On South Cape you finally find the South Sector Training Gym.
- You can also use the Digi-Egg to call Submarimon from the dock at South Cape.
- Travel undersea to the West Sector, fighting underwater Digimon along the way.
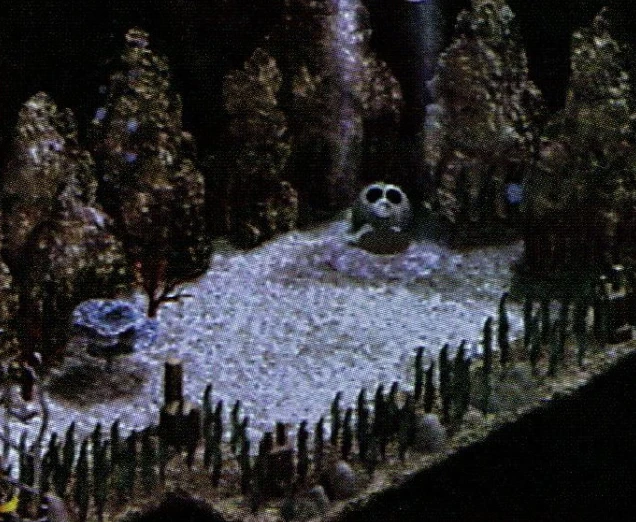
- You arrive at the South Badland.
- There you find Nick, whom you last saw at Divermon's Lake.
- The sooner you find the Pelche Oasis, the easier your time in the West Sector will be.
- You will probably meet the mysterious Lisa again at the oasis.
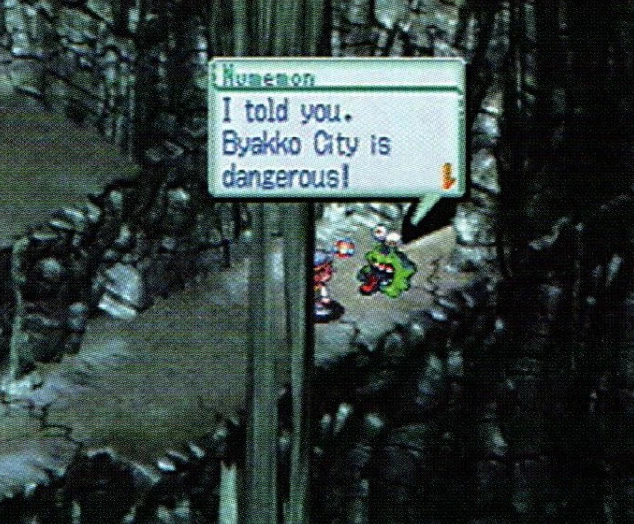
- As you approach Byakko City, an unusually helpful Numemon warns you away.
The Byakko trap
- If you enter anyway, you find all the city's shops closed and the leader acting strangely.
- After the battle, the fake "Leader" of Byakko City lures you into a trap.
- You get dumped into an underground prison!
- But the strangely helpful Numemon rescues you.
The Mobius Desert and the Mirage Tower
- Maybe you can find some answers at the Mirage Tower. On the way there you talk to a Guilmon…
- … and to an Agumon. Apparently the Mobius Desert is a very strange place.
- But not strange enough to keep out the intrepid investigators of the DRI.
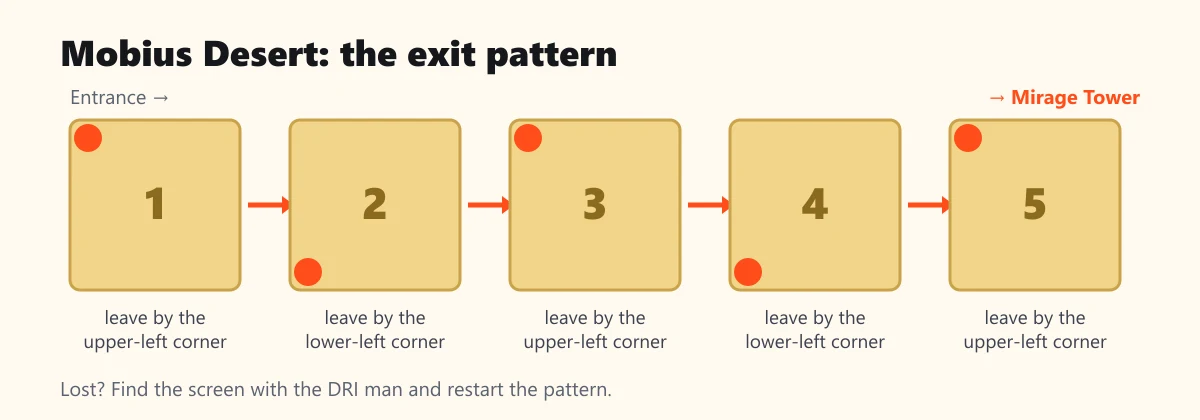
Tip: the Mobius Desert is a sneaky maze made of several nearly identical screens that wrap together in strange ways. Once you know the secret, it is easy. Every screen has four exits. On the first screen, leave by the upper-left corner; on the second, leave by the lower-left corner. Keep up this pattern and you reach the tower in just five screens. If you get mixed up, do not panic: find any screen with a DRI man on it and restart the "upper-left, lower-left" pattern from there.
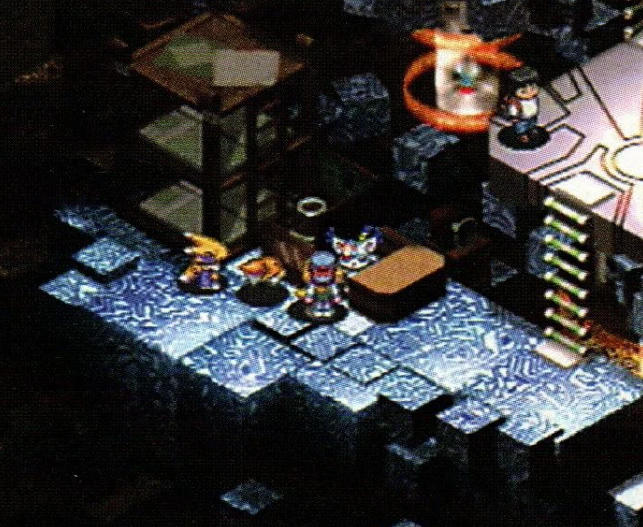
- At the Mirage Tower, you find the real citizens of Byakko hiding out.
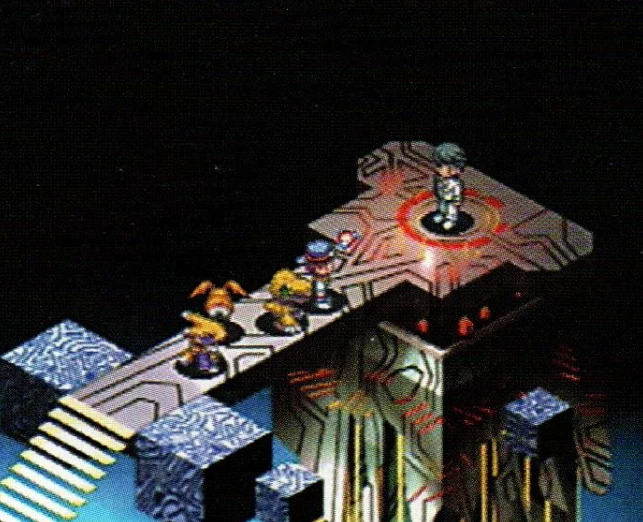
- When you meet Byakko Leader, he accuses you of being with the AoA and challenges you! After you beat him, he calms down and suggests you look for Numemon at the Dum Dum Factory. He also gives you the Byakko Badge.
- You can get back through the Mobius Desert using the same pattern that got you in.
The Dum Dum Factory
- The entrance to the Dum Dum Factory is beyond the Bullet Valley.
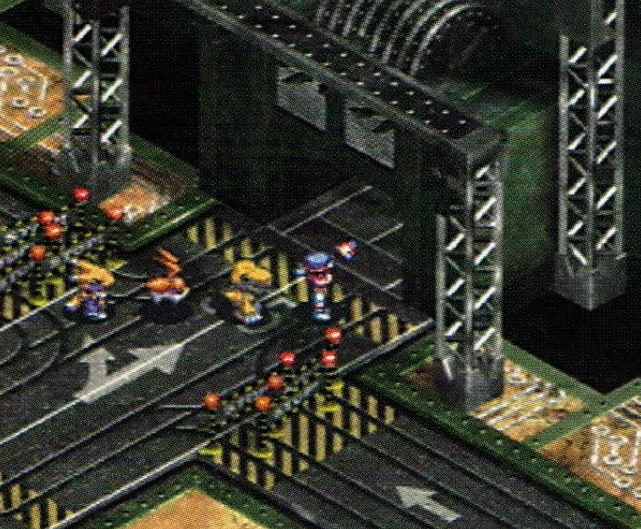
- From time to time you spot Numemon going into the factory's duct rooms, but he will not talk to you, and by the time you reach the room he has always vanished.
Tip: to get through the Dum Dum Factory, find the four duct rooms and wander around their area until you have seen Numemon enter all four (he leaves a little present in each duct room he visits). When you see Numemon go up the stairs at the back of the factory, you can approach HiAndromon about continuing your search. Before he lets you pass, you must beat him in battle. He is tough, so you may want to run back to the oasis for a quick save between seeing Numemon head up the stairs and challenging HiAndromon.
- Once defeated, HiAndromon lets you carry on with your search.
- He opens the gate to the Secret Stairs.
- In the sewers below the factory, you find Lisa being harassed by an ungentlemanly WaruMonzaemon, whom you must defeat.
- After you put WaruMonzaemon in his place, the Numemon you have been seeking finally approaches you…
- … and reveals himself to be none other than Lucky Mouse, in a Digimon costume.
- The surprises keep coming. The AoA followed you to Lucky Mouse's hideout and has taken Kail hostage. And Kail is Lucky Mouse's little sister! On top of everything, Lucky Mouse (whose real name is Kurt) is turned into an Oinkmon by the AoA.
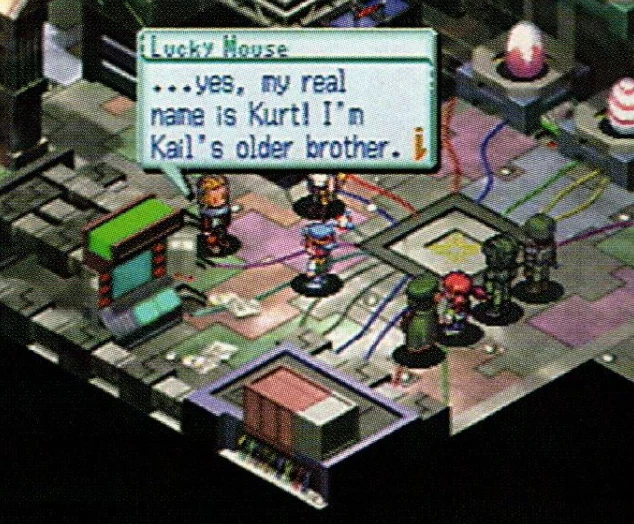
- You manage to fight your way free and decide to go to Asuka City to search for a way to defeat the AoA.
- WaruMonzaemon has decided to turn over a new leaf. He is no longer a threat.
Tip: the quickest way from the West Sector to Asuka City is to summon Submarimon from the dock at North Badland E. He takes you to Shell Beach, right outside Asuka City.
Retaking Asuka City
- On your way to Asuka, you might find the West Sector Training Gym, on the beach of North Badland E.
- You find that Asuka City has been sealed up tight.
- But you can summon Submarimon from Asuka Bridge, and he takes you into the city.
- You arrive in the city sewers, a place you could see but never reach before.
- Below the city you find Datamon. He is bored and eager for a battle, but even after you beat him he refuses to let you in without a Staff Pass.
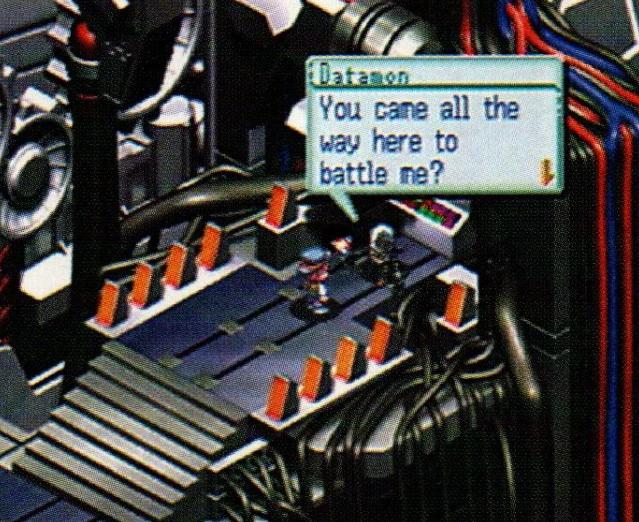
- So it is all the way back to Lucky Mouse's secret lair under the Dum Dum Factory to see whether Kurt has a Staff Pass. Lisa suggests you go to the South Sector and bring back her friends Keith and Nick.
- Talking to people around Suzaku City suggests that Nick and Keith are somewhere close by.
- To find them, summon Submarimon from the dock behind Suzaku Leader's headquarters.
- You are taken to a mysterious underwater cavern…
- … where you find Nick and Keith.
- The three of you hurry back to Lucky Mouse's lair, where Nick finds the Staff Pass you need.
- Now you can return to Asuka and show Datamon your pass.
- He opens the gates of the city for you.
- You have to fight your way past numerous AoA guards.
- Once you reach the main lobby, you can go out into the city to rest and save. And from now on you can return to the city as often as you like.
- Further into the administration center, you meet a strange Digimon you have never seen before.
- You also find Teddy and some other familiar faces in the town's Prison Tower.
- The control room is empty.
The M-O-N-S-T-E-R puzzle
Tip: the game pretty much explains everything you need to solve the puzzle and get into the AoA headquarters. There are seven pictures on the wall, each matching a letter: M-O-N-S-T-E-R. Touch each picture in that order to open the door. If you make a mistake, touch every picture at least once (to reset the puzzle), then start again from M.
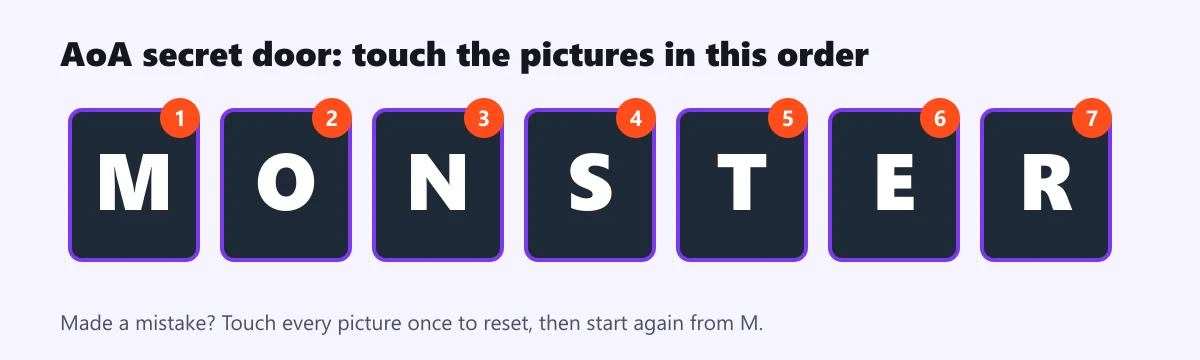
- Solving the puzzle opens the secret door to the AoA headquarters!
- Inside, you find the Game Master talking to her mysterious superior. You have to defeat her in battle.
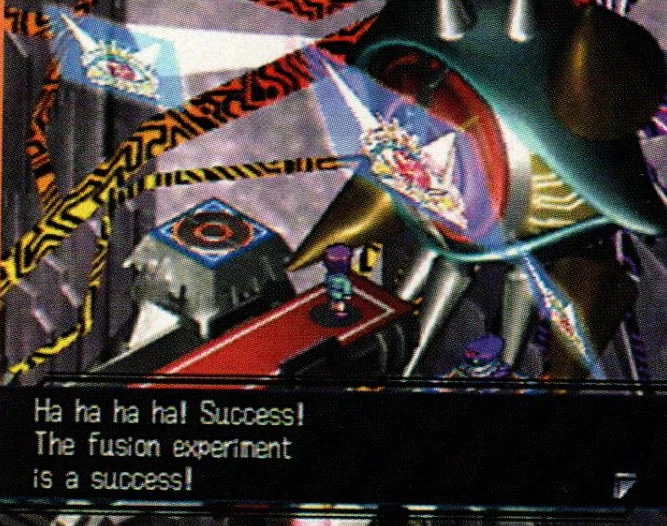
- After you win, your friends show up to arrest the Game Master.
Chapter 6: Across the Server Barrier
AoA goons have come over from the Amaterasu server to attack Asuka. The Asuka Game Master is under arrest, but the threat is far from over. You have to find out how the AoA crossed from one server to the other, then brave the rift between the worlds yourself. When you arrive at Amaterasu, you see it has been strangely changed by the AoA (and you will probably never want to eat a pork chop again). Your mission is to get Amaterasu's Digi-Egg of Knowledge. Along the way you will have to battle the AoA chiefs of Amaterasu's East and South sectors. All of a sudden, the world championship does not seem like such a big deal anymore.
- In town, Kail begs you to find a way to return Kurt to normal.
- You must go back to Byakko (where the honest citizens have returned) to search for a way to the Amaterasu server and the Digi-Egg of Knowledge.
- You can question the AoA soldiers in the underground prison (the hole you escaped through has been sealed). They tell you a Digimon called Bulbmon (the same one that ambushed you on the Gondola) brought them from Amaterasu to Asuka.
- When you arrive in the South Sector looking for Bulbmon, you find the people worried about mysterious earthquakes.
- You may even experience one of these earthquakes yourself.
- In Suzaku, you are told the Leader has gone to the Jungle Shrine to investigate the tremors.
- Deep in the Jungle Shrine, you find Suzaku Leader guarding a mysterious tear in the fabric of the server. (But first you will probably have to beat Zanbamon once and for all, if you have not already.)
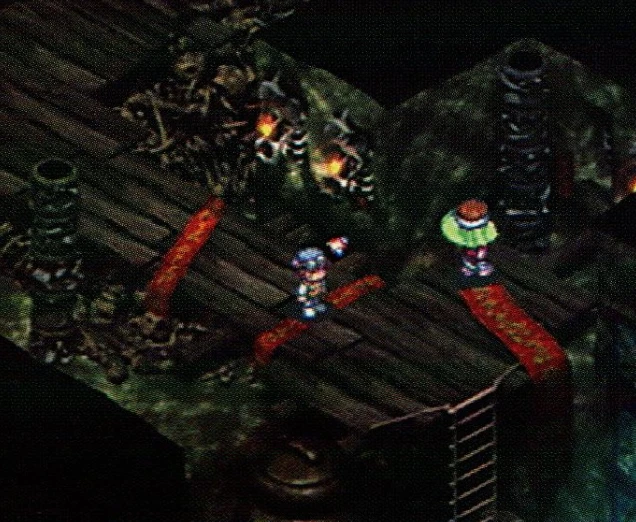
- You bravely volunteer to explore the hole between the servers.
The Bug Maze
- In the Bug Maze you find a strange reality haunted by powerful Digimon.
- Be on the lookout for the invisible ladder that lets you move from one level to another.
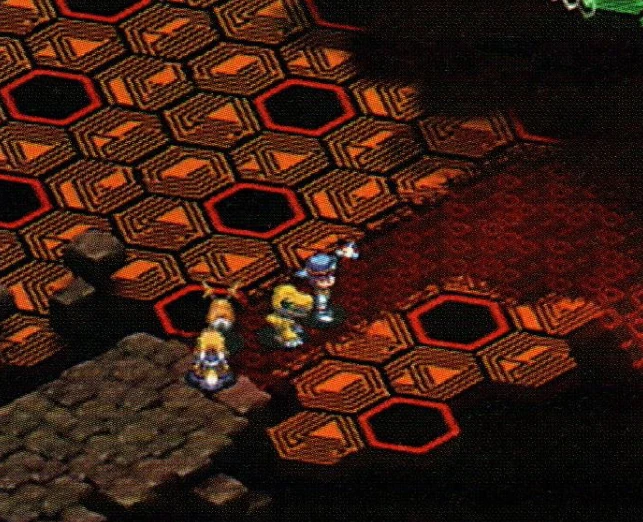
- You find Bulbmon when you enter a "pit", a side chamber on the upper level. Once he is defeated, you have a straight path to the Amaterasu server.
On the Amaterasu server
- You come out of the maze in the basement of Amaterasu's Forest Inn.
- A boy named Kenny tells you about the horrible things the AoA conquerors have done on this server.
- In Qing Long (Amaterasu's version of Seiryu), you must defeat the AoA Chief in battle. He drops a colored card for you to take.
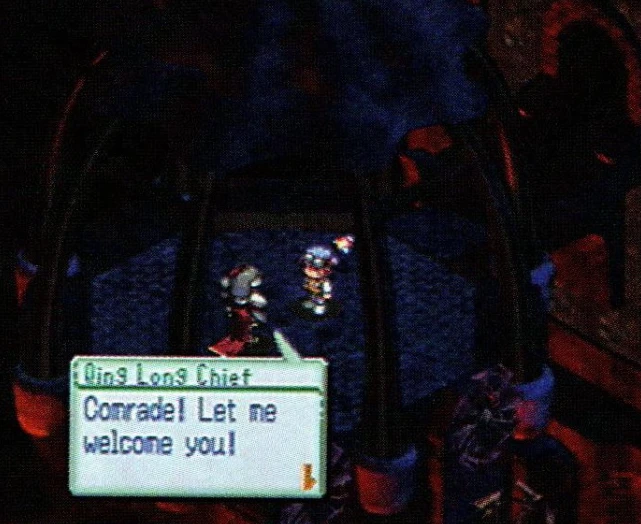
- Do not try to visit Amaterasu City! It is far too well guarded to approach.
- Instead, try to reach Zhu Que (the local version of Suzaku).
- With the pass you got from the Qing Long Chief, you can get into Zhu Que.
- Face the Zhu Que Chief in battle and you get another colored pass card.
- In the underwater cavern below Zhu Que, you find the Digi-Egg of Knowledge. Now you can retrace your steps and return to Asuka.
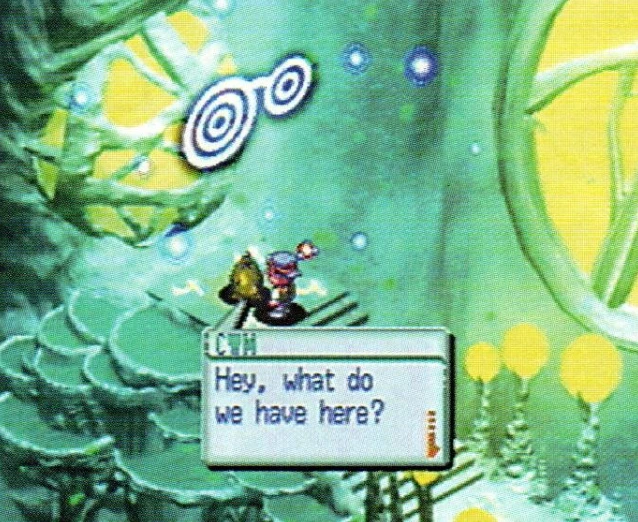
- With the Digi-Egg of Knowledge, you can summon Digmon from any of the holes in the landscape.
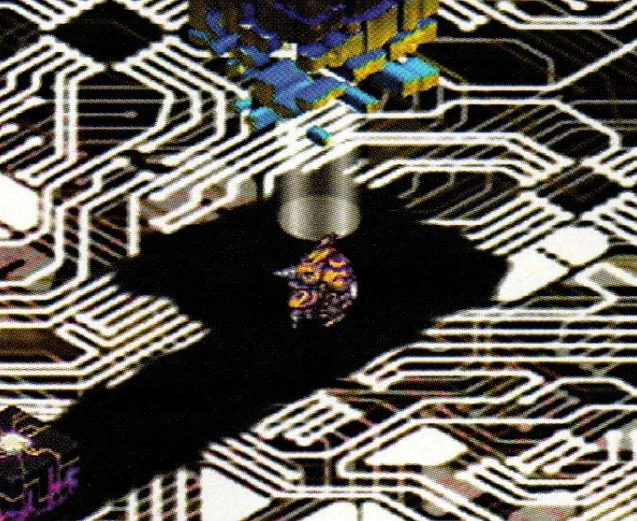
- This lets you explore the strange Circuit Board tunnels beneath the Digital World. You can even travel between the servers using Digmon. (The Circuit Board maps will get their own guide here on the blog.)
Chapter 7: Through the Kulon Mine
You have finally made it to the North Sector and Genbu City, but there is more on your mind than winning a sector badge (though you will have to do that too, of course). To foil the AoA's plans, you have to reach the emergency Matrix Chamber at the bottom of the Kulon Pit. There is just one little thing in your way… the toughest dungeon on the Asuka server. Once you make it down to the Matrix Chamber, you and your Digimon will have to jump back to the real world to try to stop the AoA from unleashing their ultimate weapon. Hurry, because your time in the real world is short, and the clock is ticking…
- The hole that leads to the North Sector is at the very top of Plug Cape.
- The North Sector is a harsh land inhabited by tough trainers and Digimon.
- Expect to meet a lot of card battlers throughout the North Sector.
- The Mountain Inn is a great place to rest and save. (The way runs through Freeze Mountain.)
- Eventually you reach the heavily fortified Genbu City…
- … where you can earn the Genbu Badge from Genbu Leader. Of course, he makes you fight him first, to prove you are tough enough to take on the AoA.
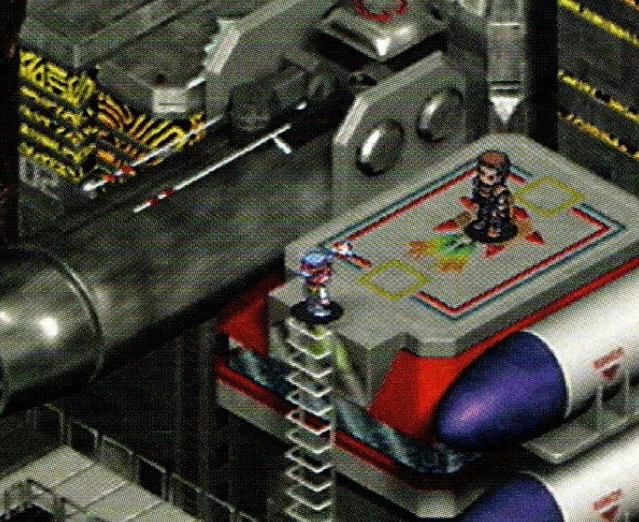
- On the other side of the North Sector from Genbu City, you can find the Legendary Gym.
- At the Legendary Gym, your Digimon get extra-intense training.
- Now you are ready to take on the Kulon Mine.
- At the Kulon Armory you can save (but you cannot rest your Digimon). You also meet the Kulon armorer, whom you may want to remember for later.
- You have to cross three dungeons on your way to the Matrix Chamber. You get plenty of warning: this is going to be a tough one.
The three Kulon Mine dungeons
- The first, the Dungeon of Ice, is a teleporter maze. At the end you have to face the Ice Witch.
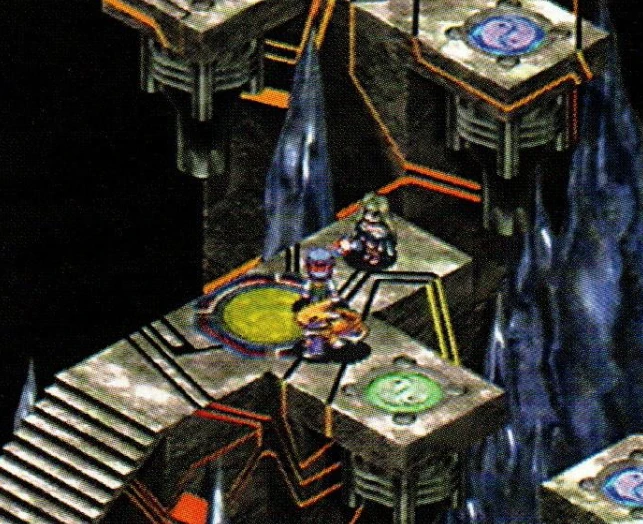
- The second, the Dungeon of Fire, is full of traps and ruled by the Fire Knight.
Tip: every trap in the Dungeon of Fire drops all your Digimon to 1 HP. Since Digimon can never be completely destroyed, hitting two or more traps in a row is no worse than hitting one. Instead of spending resources healing your Digimon after every trap, put a Digimon who can DNA Digivolve up front while you cross the maze. If a Digimon attacks you, start by DNA Digivolving to bring your HP back to full, then continue the battle normally.
- The third, the Dungeon of Darkness, is ruled by the Dark Knight.
Tip: this dungeon is not really hard once you get the trick. The blue teleporters take you back to the start. The red circles turn the lights on for as long as you stand on them. The Dark Knight waits beyond the west edge of the dungeon. Knowing this, you can cross by sight: step on a red circle, plot your course to the next one, and only then move.
- At the bottom of the dungeons you find the Matrix Chamber. You can also save and rest your Digimon there.
- The Chamber Officer transports you back to the real world. But due to a glitch, you can only stay there for 180 seconds.
The 180 seconds in Magasta
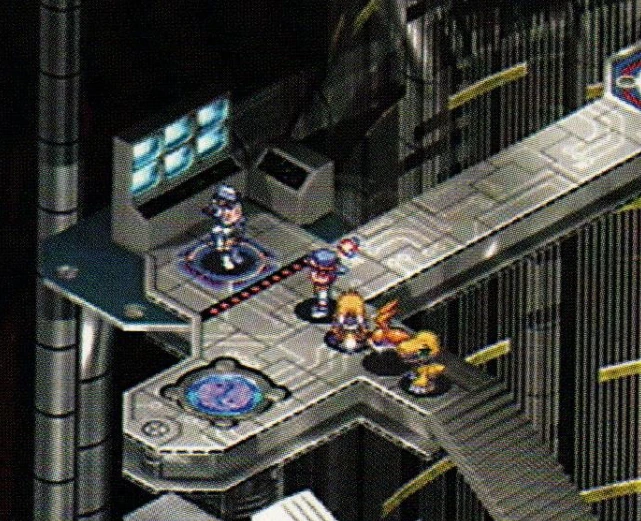
- You arrive at the Magasta Military Base with the clock ticking.
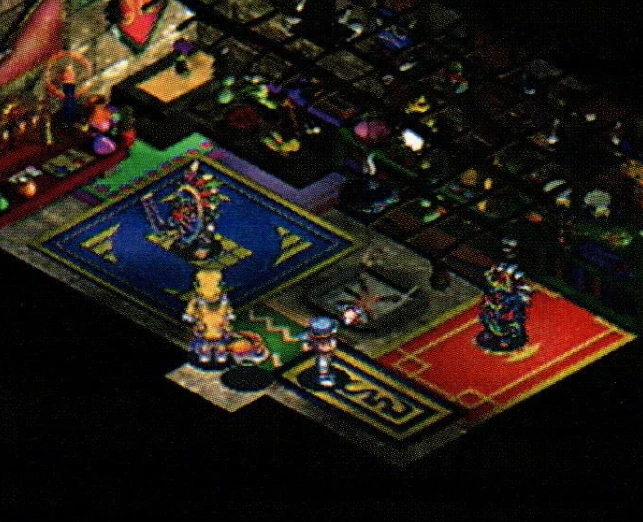
Tip: the 180-second limit is not as scary as it sounds. Battle time does not count against you, and neither do cutscenes: only the time you spend running through the maze. Do not waste time with the boxes on the base: most of them are empty. If you make it to the end of the maze in time, you get to battle the AoA Leader, but it makes no difference to the rest of the game. You can only go to Magasta once in the whole game. If you do not make it the first time and want another try, reload your last save.
- If you make it through the maze, you arrive in time to defeat the AoA Leader in battle, but you cannot stop his evil plans, which are already in motion.
- On the bright side, you now have all four city badges. You cannot compete in the world championship, though: it has been called off because of the emergency.
- If you visit Sepikmon in the Shaman Hut, you find he has been joined by a friend who can change your Digimon's names to anything you like.
Chapter 8: Rescuing Amaterasu
With the AoA's fearsome Destromon loose in the real world, you have to return to Amaterasu and finish the job you started. You will have to defeat the AoA bosses of Amaterasu's West and North sectors so you can reprogram the Knightmon guardians and liberate Amaterasu City. In the end you face the Chief Officer of MAGAMI himself and his personal "royal guard" to purge the AoA from Digimon Online once and for all. After that, it is just a matter of reopening the way back to the real world… oh, and doing something about all those Oinkmon on Amaterasu.
- Your mission to save the Digital World is not over. Return to the Asuka administration center.
- Report to your friends in the Master Room.
- Lisa tricks the Game Master into revealing important information: you need the badges of all four city chiefs on Amaterasu.
- But Teddy arrives with more bad news: a giant Digimon called Destromon has appeared in the real world and is destroying everything in its path.
- There is no time to lose. It is back to Amaterasu! (You can use the Bug Maze, or go by Circuit Board if you have found a route you prefer.)
- The entrance to Bai Hu (Amaterasu's version of Byakko) is blocked by the AoA.
- Visit Amaterasu's Mirage Tower to meet up with Kenny and the rest of the Amaterasu Resistance.
- The Resistance leader, Chuck, does not see any way he can help with your mission.
- So it is back to the Asuka administration center, where Lisa comes up with a plan: make an alliance with the Resistance and open the way to Bai Hu.
- When you return to Bai Hu, you find the way into the city open.
- The Bai Hu boss (and his badge) is waiting for you.
- Next stop, Xuen Wu (Amaterasu's Genbu). There is no trouble getting in this time: the city chief knows you are coming and wants to fight you.
- Beat the Xuen Wu Chief, and all the badges are yours.
- With the four badges, you can reprogram the Knightmon guarding the bridge and liberate Amaterasu City!
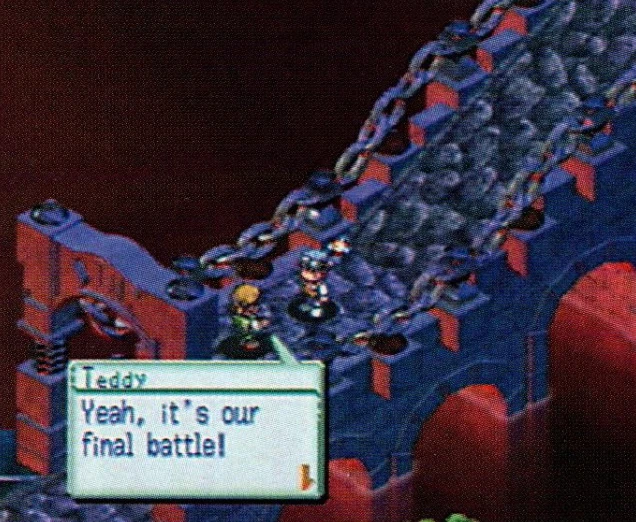
- All your friends are there for the attack.
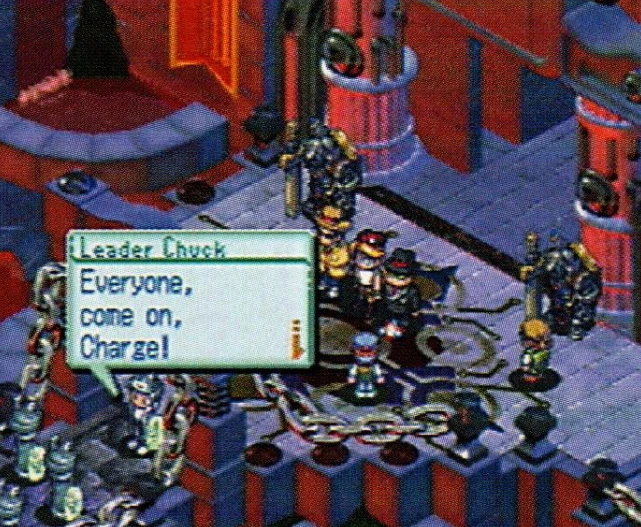
- The city soon falls, but your job is to take back the administration center.
- There are plenty of AoA guards waiting to block your way.
- In the Master Room, the door to the AoA headquarters opens for you, almost like an invitation.
- Inside, you have to face the Royal Guard in battle…
- … followed immediately by the Chief Officer of MAGAMI himself. (You will not get a chance to heal between the battle with the Royal Guard and the battle with the Chief Officer, so be ready!)
- After the battle, the Chief Officer is arrested and Destromon is destroyed.
- But both servers are still cut off from the real world, and the people of Amaterasu are still Oinkmon.
Curing the Oinkmon
- Lisa tells you that Keith has gone to Qing Long to try to cure the Oinkmon.
- Keith says he has the cure ready, but there is not enough power to make it work.
- A technician reminds you that Qing Long runs on wind power.
- You remember the sleeping Airdramon back in Seiryu. That is one Digimon with plenty of wind to spare.
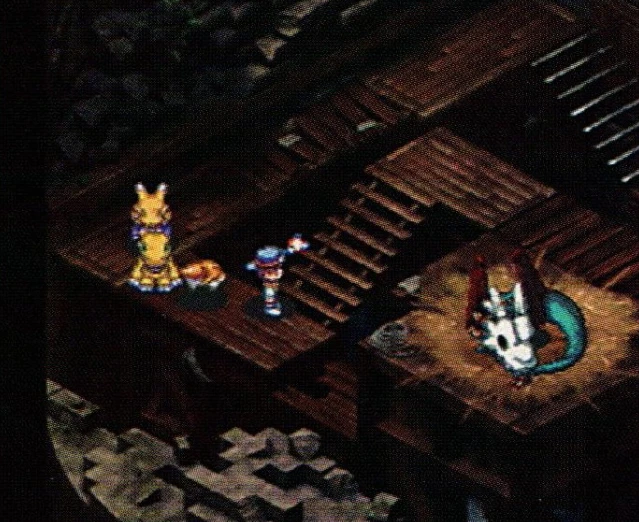
- Airdramon does not seem to listen to your pleas, but if you leave his tower and come back, you find he has flown off somewhere.
- When you return to Amaterasu, you find people, not pigs, waiting for you!
- Keith tells you how Airdramon showed up and gave his machines the power they needed to change everyone back.
- And sure enough, in the tower you find Airdramon resuming his nap in a new spot.
Chapter 9: The Ultimate Battle
Now the whole AoA leadership is in jail, and the citizens of Amaterasu no longer have curly tails. Once the passage back to the real world is reopened, everything will be pretty much back to normal. Not so fast! Almost before you realize it, everything is worse than ever. What happened? You get the answer when you meet Lord Megadeath, the sinister lifeform who secretly created the AoA. Now Lord Megadeath is ready to unleash the ultimate Digimon on an unsuspecting world. To save both the Digital World and the real world, you will have to face Lord Megadeath and his treacherous creation, the ultimate Digimon Galacticmon!
Tip: if you care more about having the strongest Digimon possible than just finishing the game, this is a great time to train. Explore every location on both servers: there are still lots of rare items to find, especially from the boss Digimon on the Amaterasu server. Visit the armor Digimon in the Kulon Mine to push your weapons and armor to ultimate power. Just stay away from the Asuka administration center until you are sure you are ready to go ahead and finish the game.
- Back at the Amaterasu administration center, your friends are all working on a way to get everybody back to the real world.
- The next time you visit the Asuka administration center, you are greeted by a sinister sight: Oinkmon in the Master Room!
- In the secret room, you find the problem: Vemmon! They escape before you can stop them.
- Now it looks like everybody in Asuka is an Oinkmon.
- Still, digital life goes on: not even pighood can stop Mr. Smith from holding his auctions.
- The Amaterasu server has also been returned to a state of Oinkishness.
- On the Amaterasu Bridge, you meet Kail, one of the few who escaped the Vemmon attack. She fills you in on some details.
- In the Amaterasu Master Room, your friends are waiting for you.
- Inside the AoA headquarters room, you are confronted by Lord Megadeath, the digital lifeform who has been the secret force behind the AoA all along.
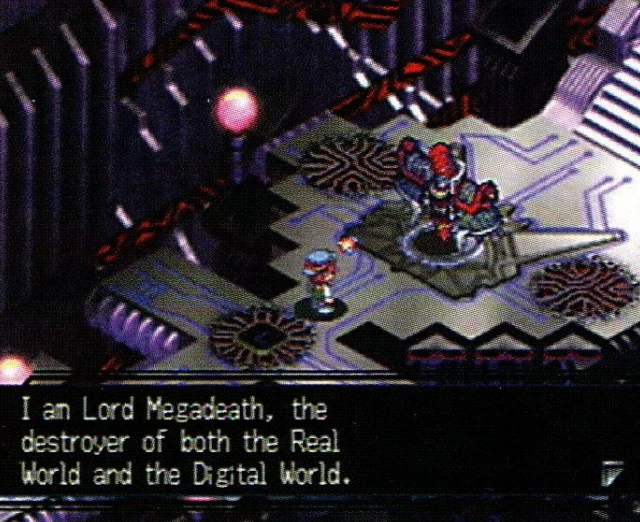
- He challenges you, the greatest tamer of them all, to face him at his satellite headquarters. All you have to do is step through the warp gate.
Warning: before stepping through the warp gate, make sure your Digimon are freshly saved and fully rested. You will not get any more chances to save or rest for the rest of the game.
The Gunslinger satellite
- Lord Megadeath has set up a maze to wear down your Digimon before you face him.
- You have to navigate the teleporters to reach the consoles that take down the blocks between you and Lord Megadeath.
Tip: to get to Lord Megadeath, step on the teleporters in numerical order, hitting the consoles along the way as you reach them.
- When you meet one of Lord Megadeath's robot soldiers (Metal Soldier), you know you are close to the next console.
- At last, you are ready to enter the final teleporter.
- You arrive at Lord Megadeath's innermost sanctum.
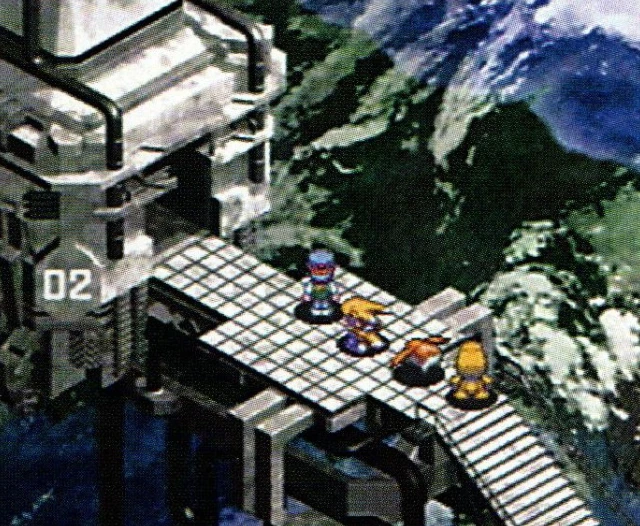
- He challenges you to a battle with his tough robot Digimon.
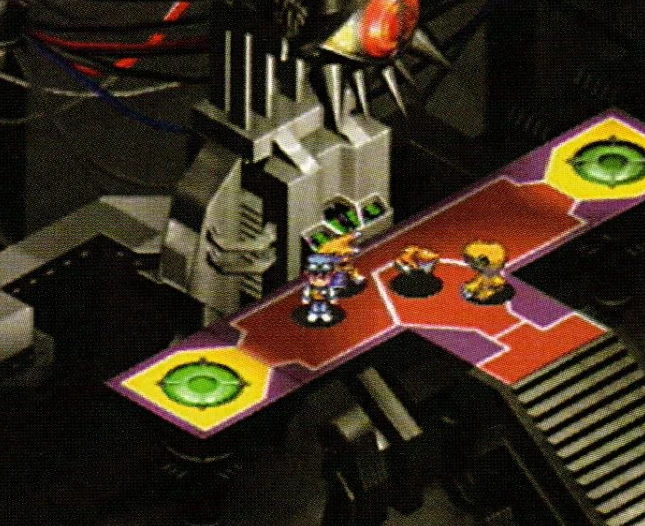
- But that is not all you have to face. Vemmon is about to Digivolve into Snatchmon, the strongest Digimon ever.
- You must follow Lord Megadeath to Snatchmon.
- But Snatchmon does not want to serve Lord Megadeath: it devours him! Snatchmon tells you about its plan to destroy all human life on Earth, Digivolving the whole planet into one great, evil Digimon. You watch in horror as Snatchmon merges with the Gunslinger satellite itself, becoming the terrifying Galacticmon.
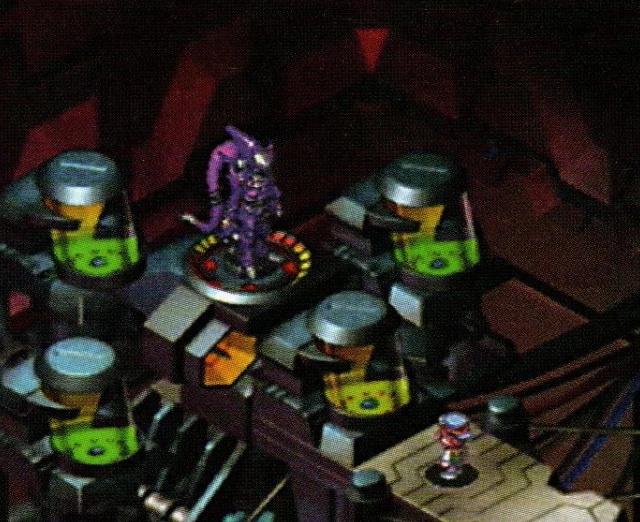
How to beat Galacticmon
Galacticmon is the final battle of the game. He is one Digimon in two parts, and you have to beat both.
- First part: a tough battle, but not too tough. Your normal tactics against Metal-type Digimon should work.
- Second part: a real nightmare. Forget your fancy high-power techniques: Galacticmon easily evades and counters them. Instead, rely on normal hand-to-hand attacks. This deprives him of his counters and forces him to rely on his relatively weak Electro Blast.
- Wearing Galacticmon down this way takes a long time, so you need to keep your Digimon alive. Lots of Supercharges and Life Disks will help, as will skillful use of DNA Digivolve.
- If you go the distance, your Digimon will get blasted several times, which unlocks some of your strongest attacks. Keep at it, stay alive and good luck!
Beat Galacticmon and you save both the Digital World and the real world. Congratulations!
More Digimon World 3 guides
This walkthrough is the main guide. The companion guides are coming to the blog and will be linked from this page:
- Circuit Board maps (Digmon's tunnels between the servers);
- Sector and seabed maps;
- Items, weapons, armor and accessories;
- Partner Digivolutions;
- Sidequests (fishing pole, Tree Boots and more).
Into classic RPGs? Check out our list of the best Super Nintendo RPGs and the complete Dark Fantasy Online guide, a free hero-collecting MMORPG.
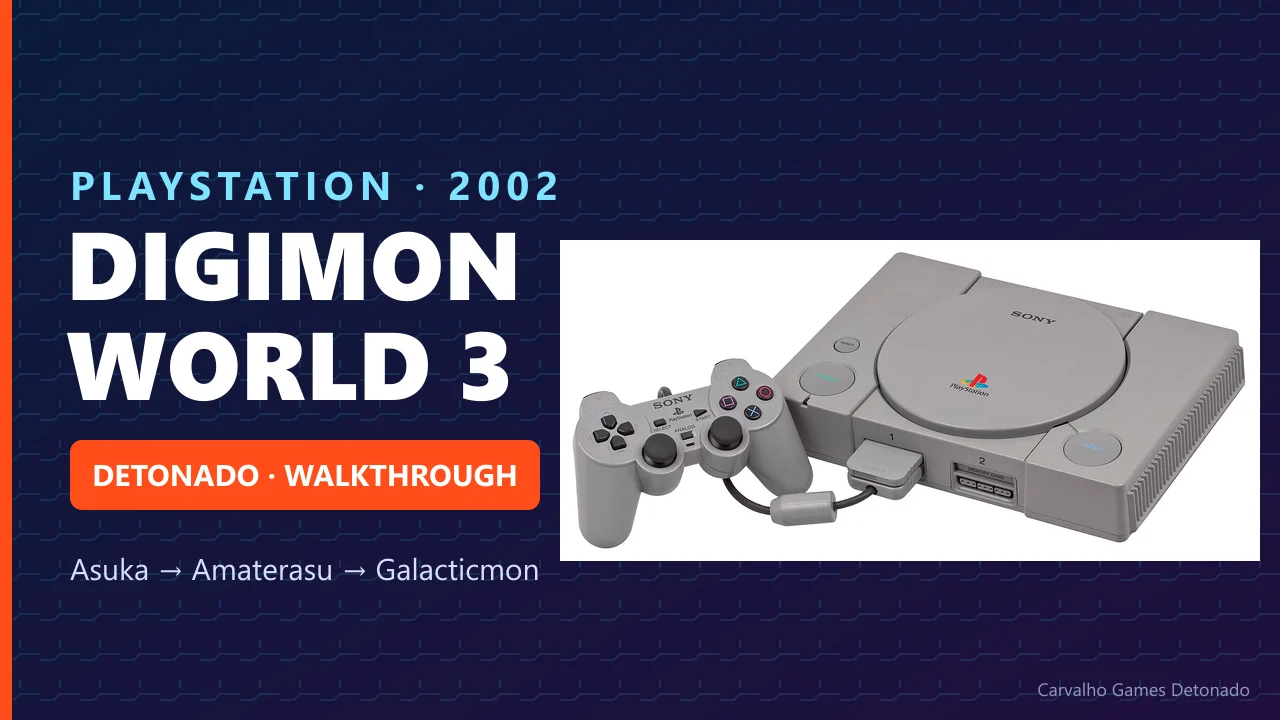
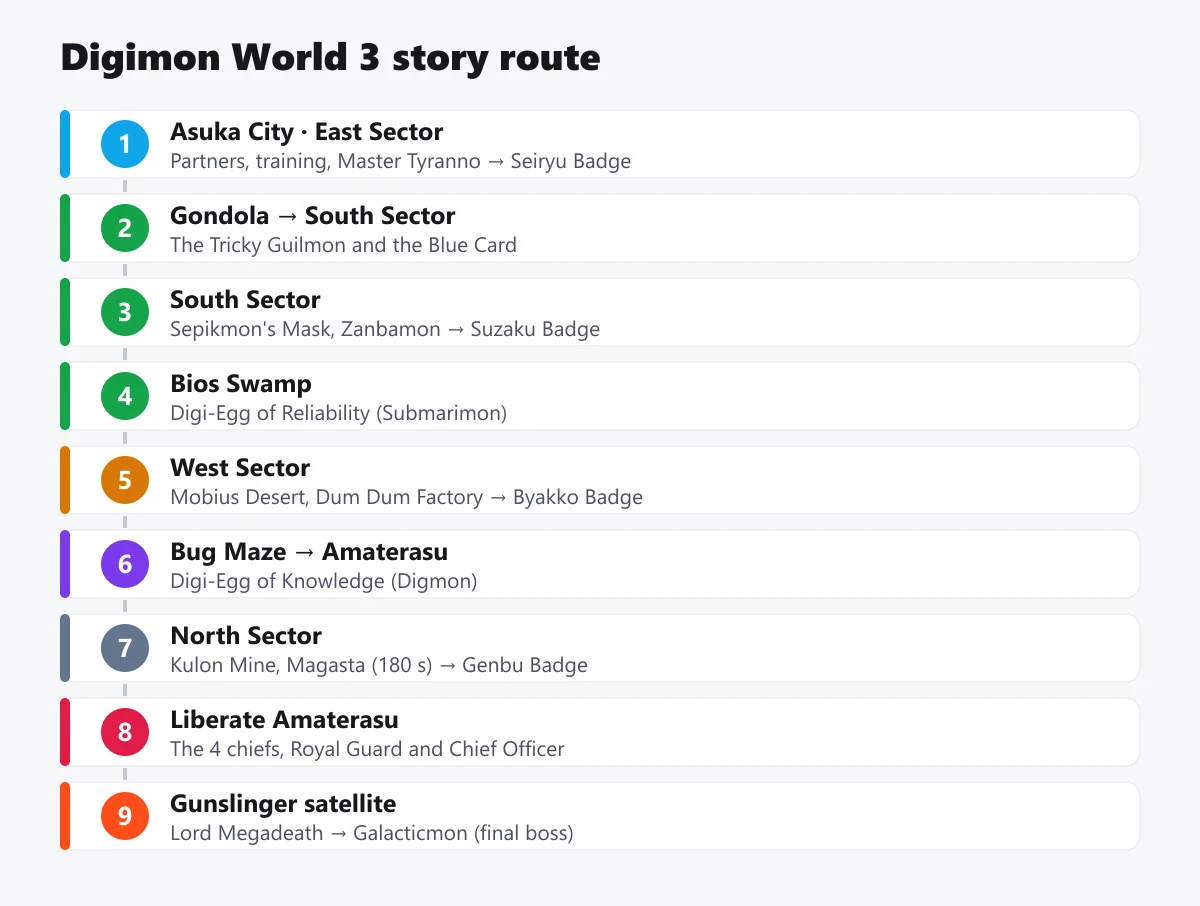
Screenshots: Digimon World 3 (Bandai, 2002), used to illustrate this guide. PlayStation image: Evan-Amos, public domain, via Wikimedia Commons. The Mobius Desert, puzzle and route diagrams are original illustrations by Carvalho Games Detonado. Digimon is a trademark of its respective owners; this is an unofficial guide.